
It’s a universal truth, an occurrence as routine as the sun rising in the morning and setting in the evening. And sure enough, as night follows day, your newly bought car will lose a substantial amount of value as soon as she is driven from the lot.
But just because your motor has depreciated in value doesn’t mean its shiny exterior needs to depreciate also. It’s possible – even when it’s not a new motor, to give your vehicle a gleaming finish. And we’re not talking about forking out an entire paycheck on equipment or a professional shop-job.
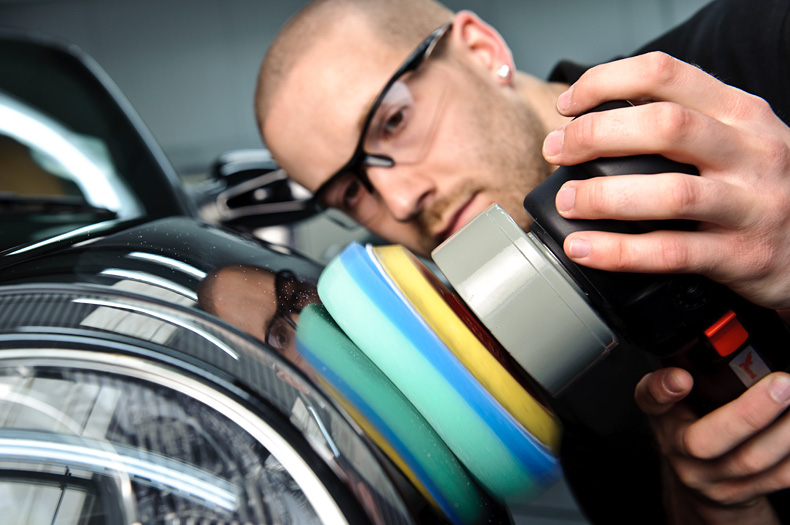
Wheeling – Car Polish Technique
‘Wheeling’ is a process of heating the paint’s clear coat with a rotating wheel until it reduces down to a sticky liquid that fills in and dispels blemishes.
To avoid lasting damage to the paint, you should only utilize this method once a year and wax your car every couple of months. Here’s how you get a perfect finish:
(1) Start by washing your car by hand in a shaded area. Rinse the vehicle thoroughly but do not dry it.
Technique Tip: Wheeling is a messy process, so cover items (such as other cars, pets, and nearby walls) that you don’t want to clean afterward. Use softer pads and polishing compounds on dark-colored cars, as they are especially sensitive to swirl marks. More-aggressive compounds and pads can be used on lighter hues.
(2) Place a clean, slightly damp pad on the polishing wheel and put a moderate amount of compound on one body panel. Spread the polish with the wheel, using a medium speed. The key is to keep the spinning pad parallel to the car’s surface to avoid swirl marks. Apply constant pressure and work back and forth over the entire surface of the panel. As the clear coat heats up and the paint becomes warm to the touch, scratches will begin to disappear. When the compound and water are thrown aside and absorbed by the foam pad, the brightened finish will become visible. Stop. Move to the next panel and repeat.
Technique Tip: Keep the area wet and use just enough polish for each panel.
(3) As necessary, stop and rinse off the foam pad with a hose or a power washer to prevent it from becoming saturated or gummed up with compound.
Technique Tip: The outer edge of the pad moves faster, generating more friction than the center, and it usually carries less polish—a recipe for a burned finish. So be especially careful around intricate trim areas, such as washer nozzles, mirrors, emblems, and complex bumper contours that can be polished using only the outer edge of the pad.
(4) Wash and rinse the car again by hand when finished, including the door, trunk, and hood jambs. Dry thoroughly
(5) Applying a coat of wax to the paint will help mask swirl marks and cover up most remaining surface imperfections. Mount a soft foam pad on an orbital sander and apply an approximate 60:40 mix of paste wax and a fine finishing polish onto the pad. Use the sander at a medium speed to spread the wax onto the vehicle in a back-and-forth motion and with light but steady pressure. Leave just enough of a waxy haze to be visible when dry.
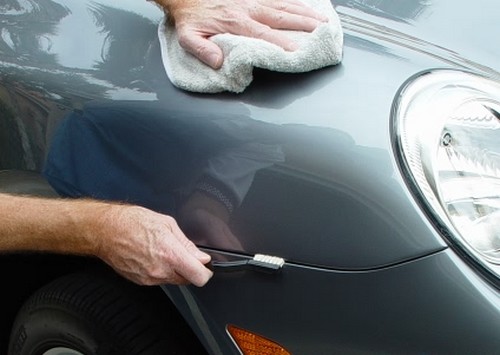
(6) While the wax is drying, clean the other areas of the car (windows, interior, etc.) and then remove the wax with a microfiber towel—bath towels or rags may mar the surface. Apply touch-up paint to chips and any lingering scratches as needed. Move the car into sunlight for a final inspection. Crack a cold one and enjoy.
Note: Polish process is for modern, multistage clear-coat finishes only.
Required tools (suggested brand)


